What’s that thing real estate agents always say? Location, location, location? Well, the same could be said about film. Knowing how to find great locations is an essential element of filmmaking — and it is equal parts vigilance, thoroughness, organization, and plain old luck. In our last conversation with Casey and Danielle of MINDCASTLE, they talked briefly about their, shall we say, exhaustive scouting methods. So we thought we’d call them up again and dig into their process.
If these two seem obsessive about scouting (they put two weeks and 1,200 miles into scouting their film The Journey), that’s because scouting has made such a difference in their work. “All of the projects I want to change afterwards are the ones where we were forced into a location, or we were rushed into something and didn’t have time to properly plan,” Danielle told us. “When you have time to properly plan, I think those are the projects you’re going to be most satisfied with.” Here are Danielle and Casey telling us everything they’ve learned about the art of the scout.
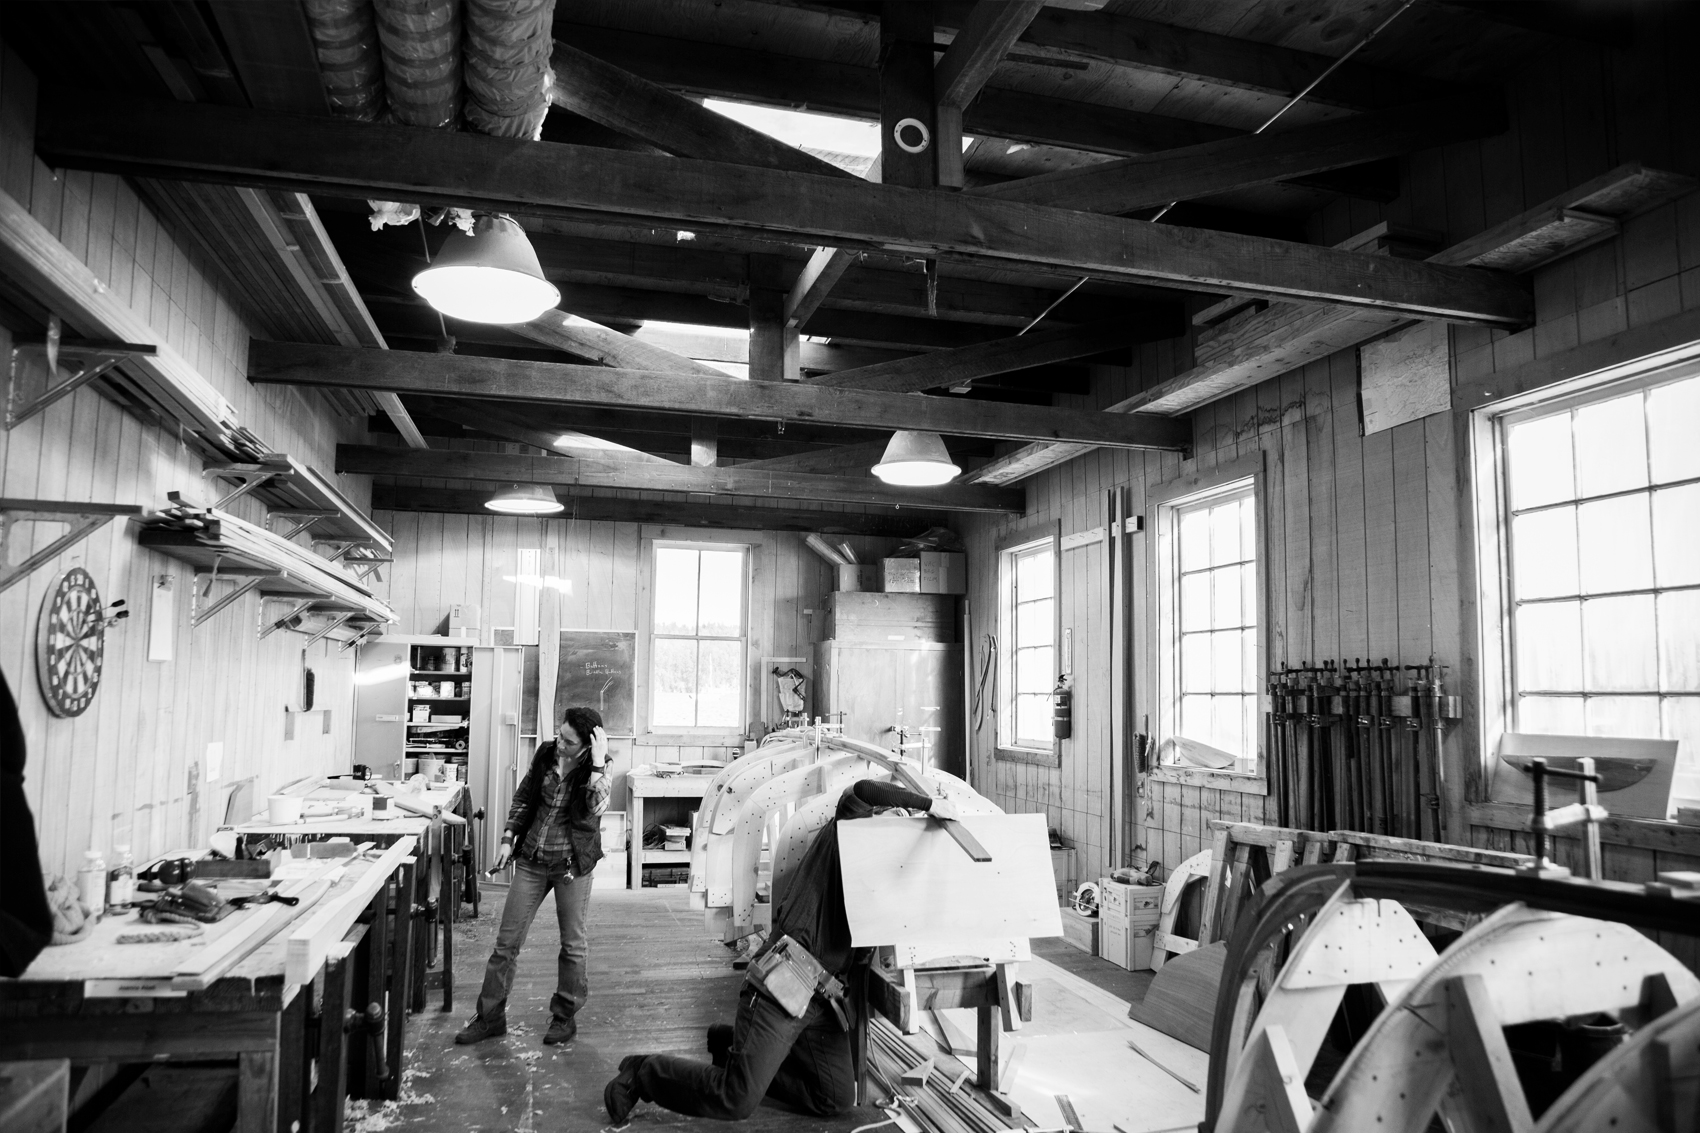
Danielle Krieger: Let’s start by talking about The Journey, which was probably the most complex scouting we’ve ever done. Sometimes a client will give you the location, and you have to pick the best spot within it. But on The Journey, we got to start from zero and go wherever we wanted.
Casey Warren: Our pitch was all outdoor activities. We wanted a plane, we wanted kayaking, we wanted hiking, we wanted a motorcycle, we wanted a ferry.
Musicbed: You had all of these hypothetical locations in mind. What was your first step to start scouting?
CW: The first thing we do is look through our own library of locations. Whenever we have free time, we go driving and look around. We take photos of awesome spots we find. So step one is looking through places we’ve already been. Step two is Google Earth. Or, actually, a really handy way to scout is on Instagram. You can type in different locations and see what they looked like today or yesterday.
DK: You can see if it’s snowy or muddy.
CW: Google Earth doesn’t always help you because the images could have been taken three years ago. Instagram is usually right now. I use it to help with some of the more remote locations, just to see what the conditions are like. So for The Journey, scouting started with our own library and computers, but then we purposefully went out to see places for ourselves. We probably drove something like 1,200 miles. It took about two weeks. Every morning we’d wake up and say, “Hey, let’s go to this island or take that ferry.” We tried to travel and explore as much as we could.
We make sure to go to the location at the time of day when we’re planning on shooting. It’s important to know where the light is going to be.
I know a lot of these locations are places you’ve been to in your normal lives. Do they look different when you’re there to scout?
DK: Definitely. For instance, we take ferries all the time. We live five minutes from a ferry launch. But when we were looking for a ferry to shoot, we rode every single one; and we realized they are all different. There are some from the ’70s, which look really cool, and some new ones don’t look as cool. That’s the first thing you’re scouting for: creative elements. How will this location help tell the story? But you’re also scouting for technical elements. Where is parking? Do I have to pay for parking? How easily can I get there? Is it close to power? Are there bathrooms close by? Those are the things you don’t really think about in your normal life.
CW: The ferry was one of the hardest scouts because we wanted to end up somewhere that had a good road we could drive a motorcycle on. We went on all the ferries to see where they ended up, and there was nothing. Just cities and towns. But we kept driving around, and we finally found this back road that happened to lead to a dock. So we got a bonus. But finding that involved three or four days of scouting where we didn’t end up with anything at the end of the day.


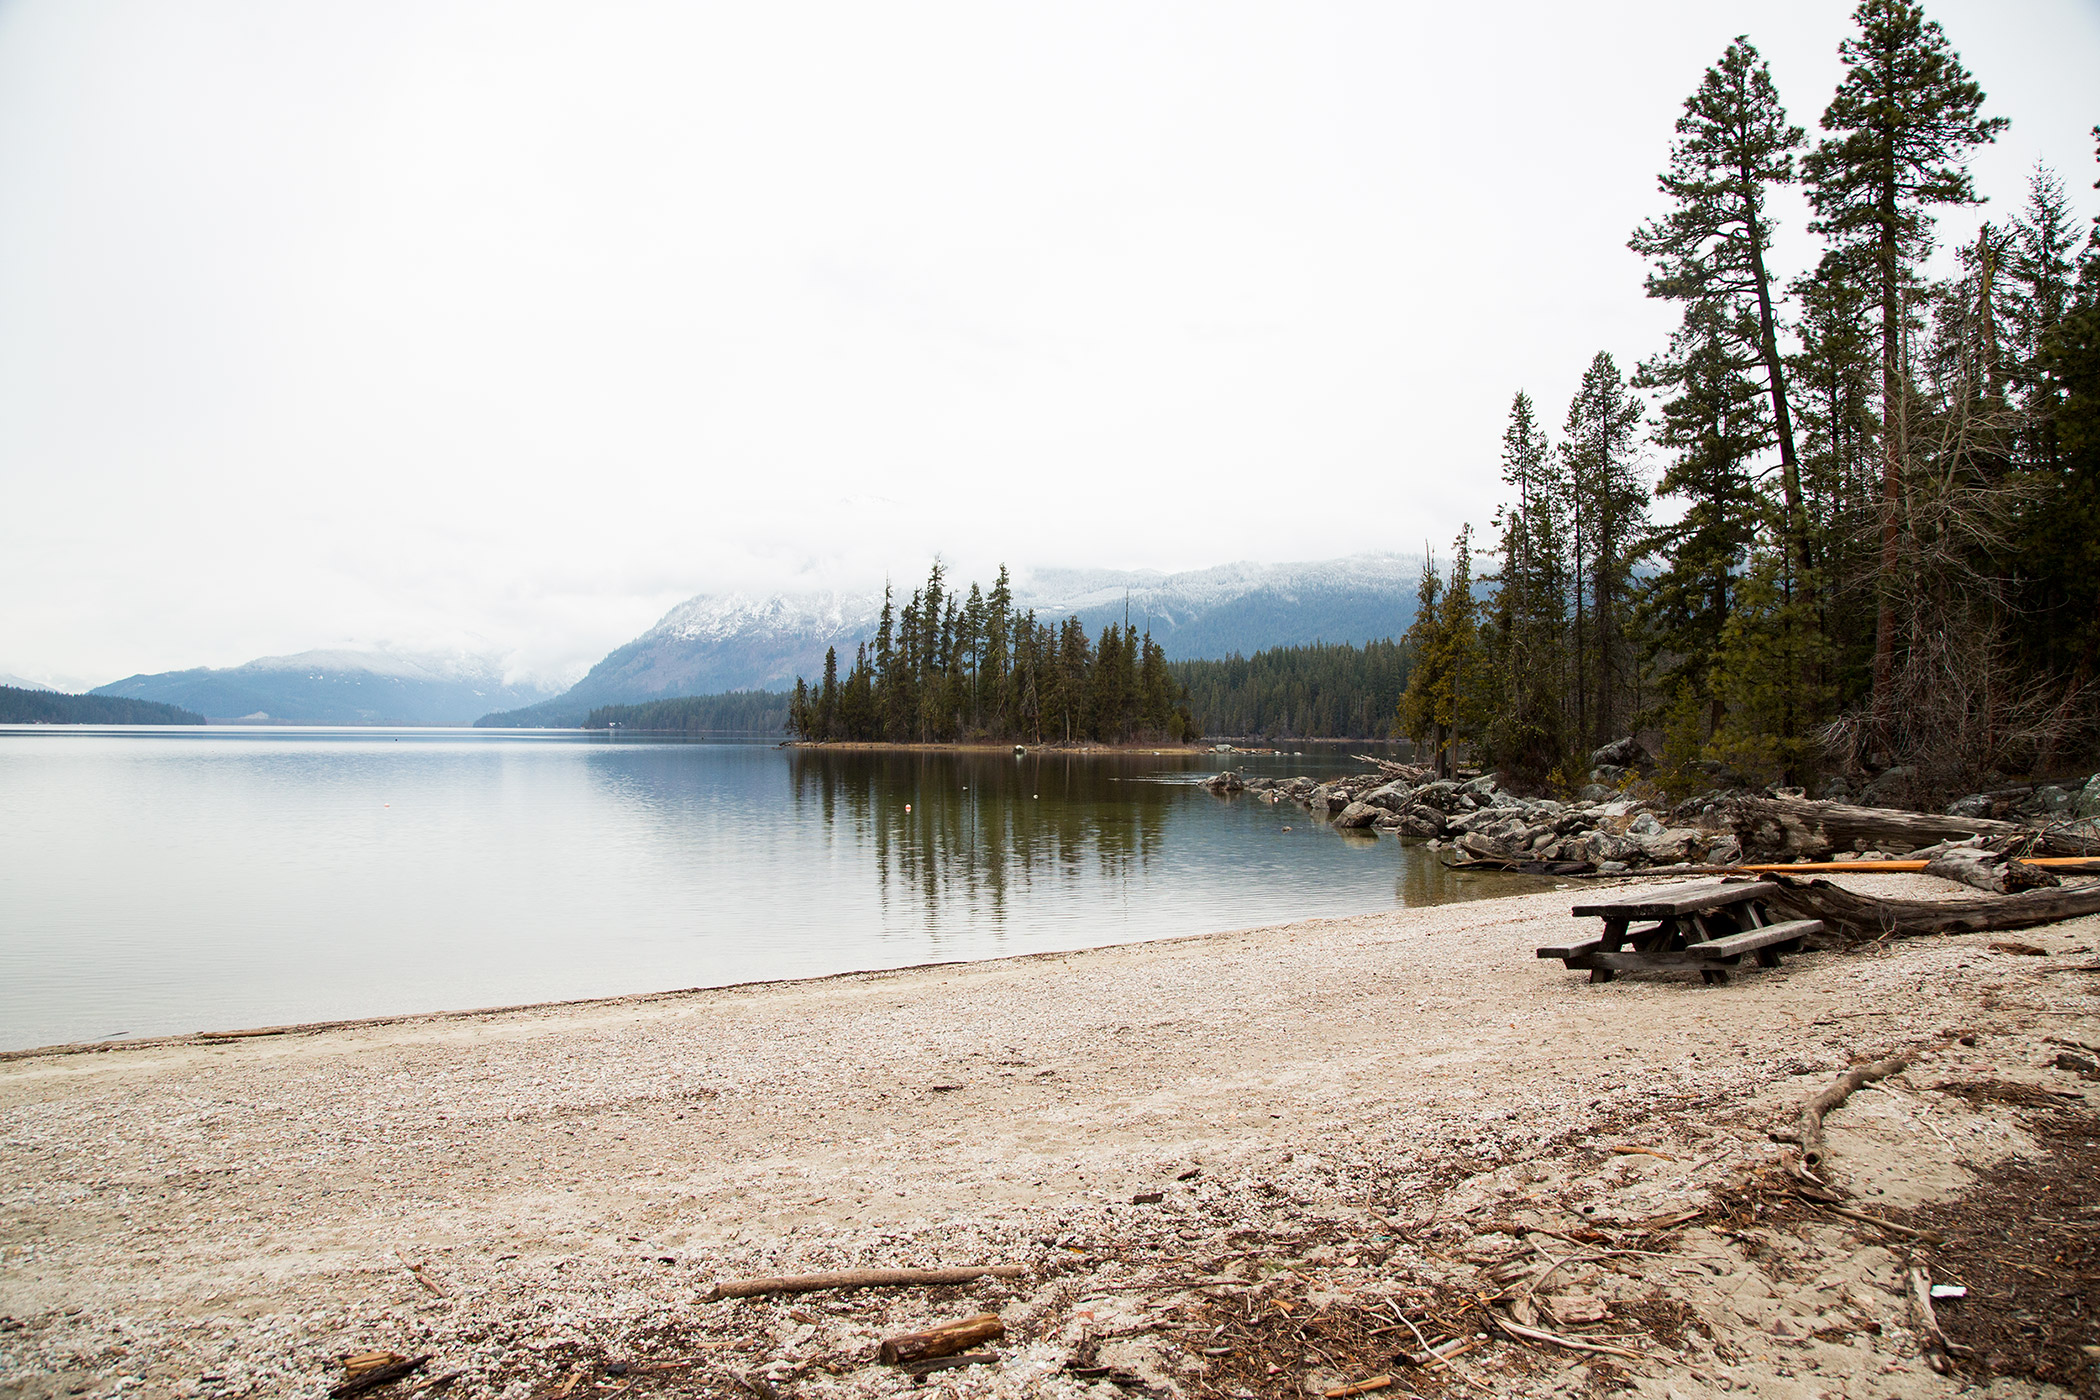
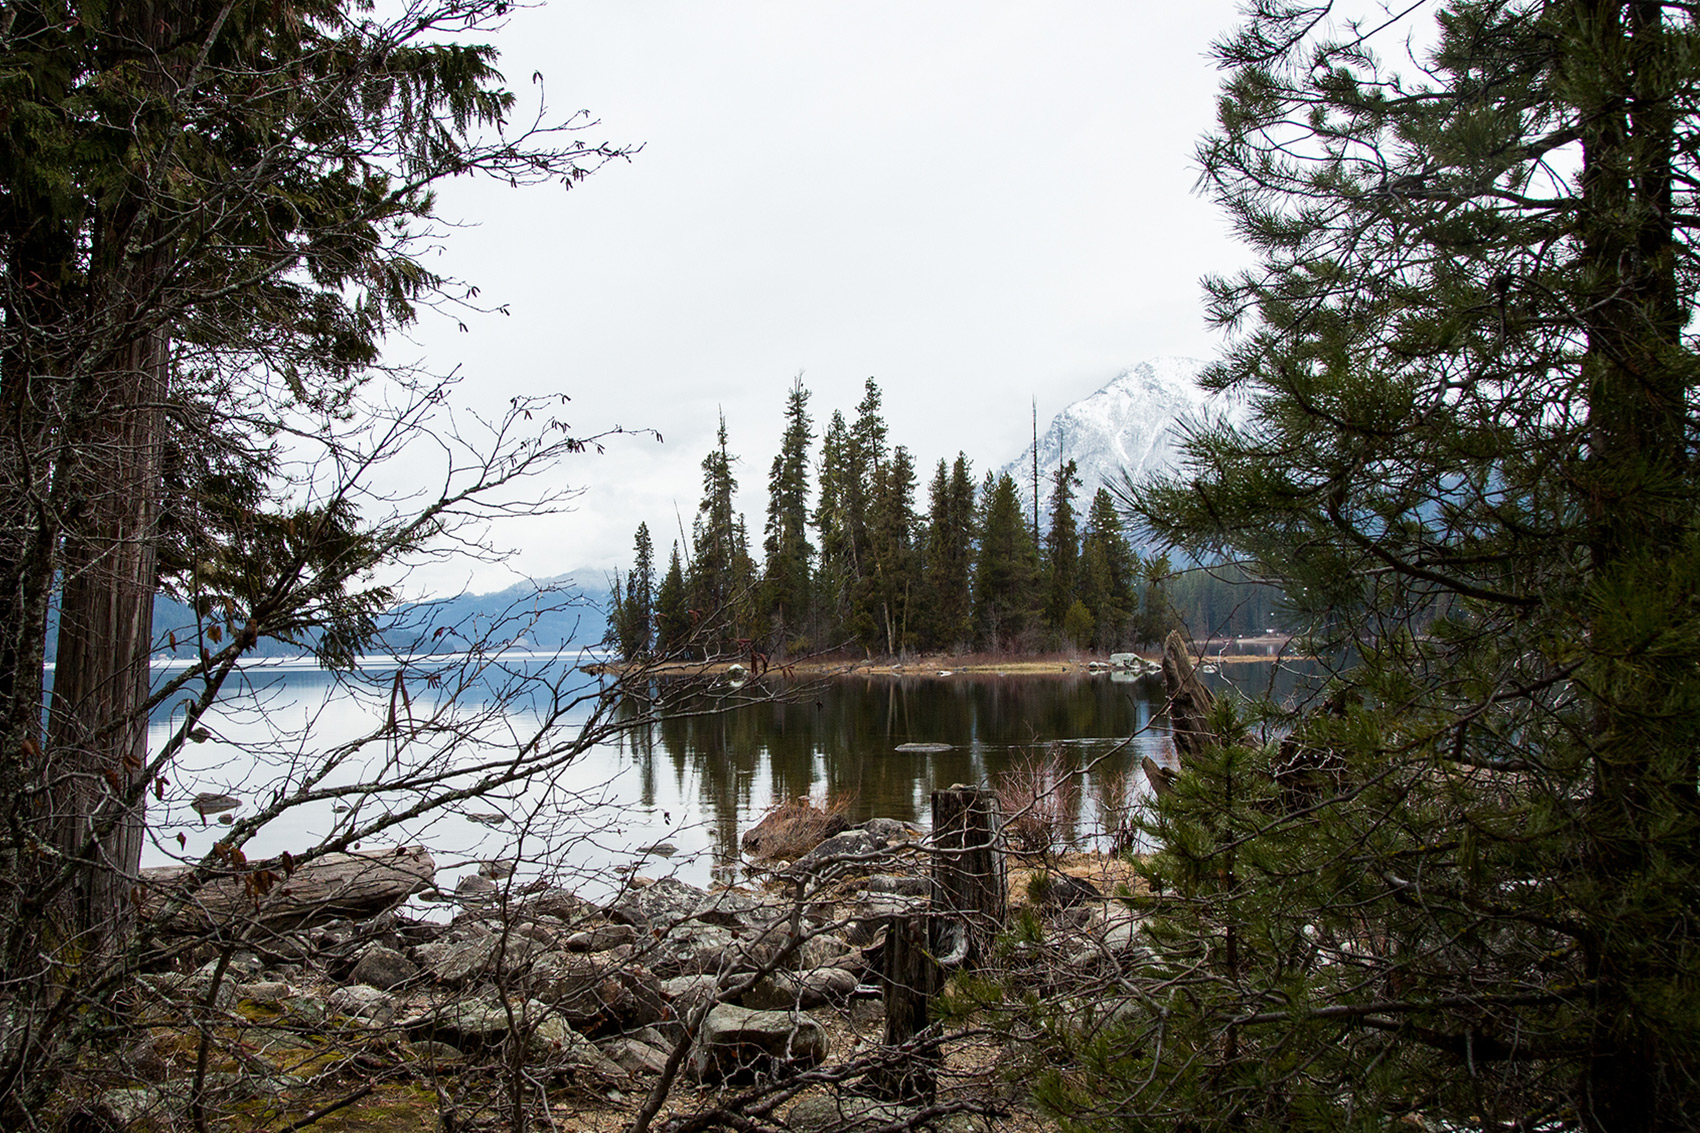
DK: Also, some locations look beautiful in person, but when you shoot them they come out much differently. When we scout, we always take pictures in every direction. We also make sure to go to the location at the time of day when we’re planning on shooting. It’s important to know where the light is going to be. It’s important to know what might change throughout the day. For instance, the dock in the film. We scouted that in the evening and the water was low. We thought, Oh, we’ll go down below the dock and shoot some stuff. But we ended up shooting the dock in the morning, and the water was high. So we had to change our plans. Those are the types of things you need to think about. Tide reports. Fog. If you’re using a drone, you need to think about power lines.
CW: I’ve gotten pretty good at knowing the things I need to be looking for when we’re scouting. There are basically four things: (1) Where are we going to shoot? (2) Who do we need to get in touch with for permits and permission? (3) What info do we need to get this location on our insurance? And (4) Where is the crew going to park and be? If you don’t have a specified place for the crew, you’ll inevitably want to film where everyone has decided to hang out. You always need to keep 180 degrees clear because you might end up shooting the opposite way.
Do you always get permission for the places you’re shooting?
CW: We pretty much make sure we have permission for every spot. It can depend on the size of your crew, though. If you’re two to three people — I’ve talked to the permits office about this a couple times — they’re like, “Yeah, if it’s two to three people, don’t worry about it.” But if you have more than that or if you have extensive gear, then you definitely want to get permission. We have an entire booklet full of forms and contracts just for The Journey locations alone. The biggest amount of paperwork for that entire project was about the locations.
DK: I used to think getting permits was this big, scary process and people were going to say no. But it’s really no big deal.
That’s what we try to do with any location: get people excited and involved.
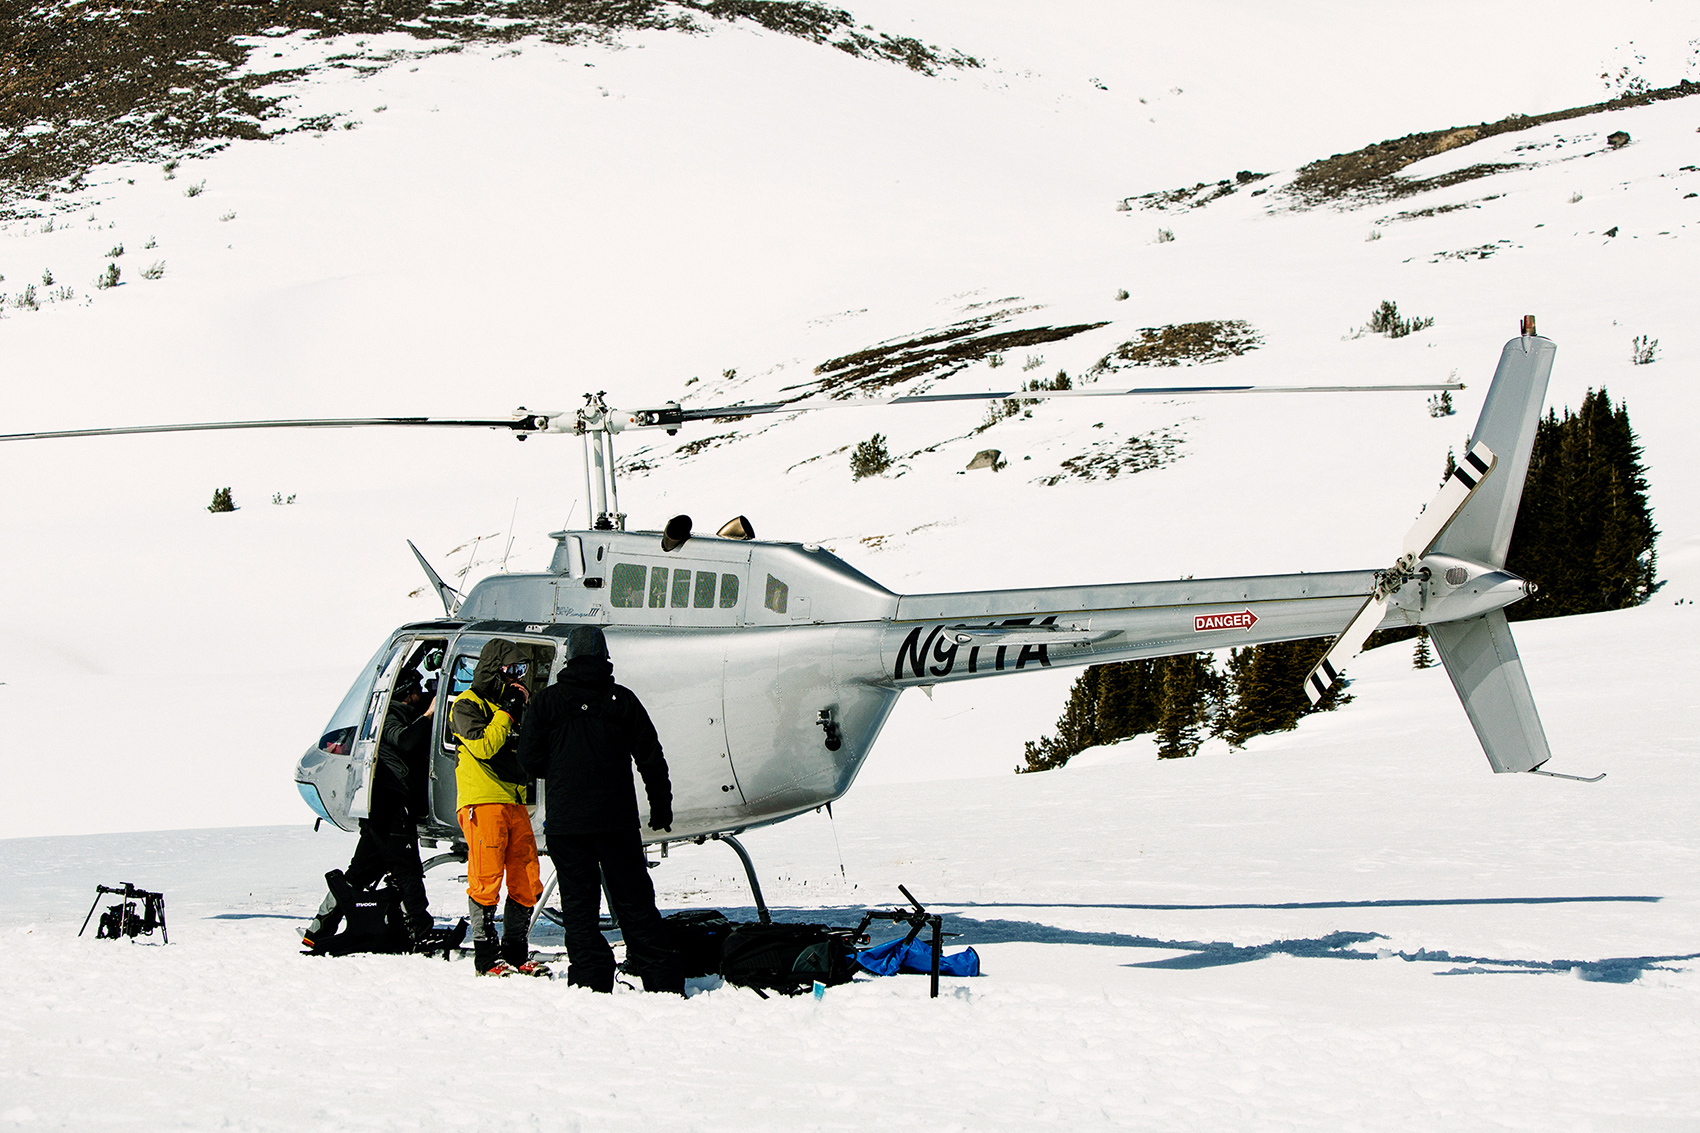
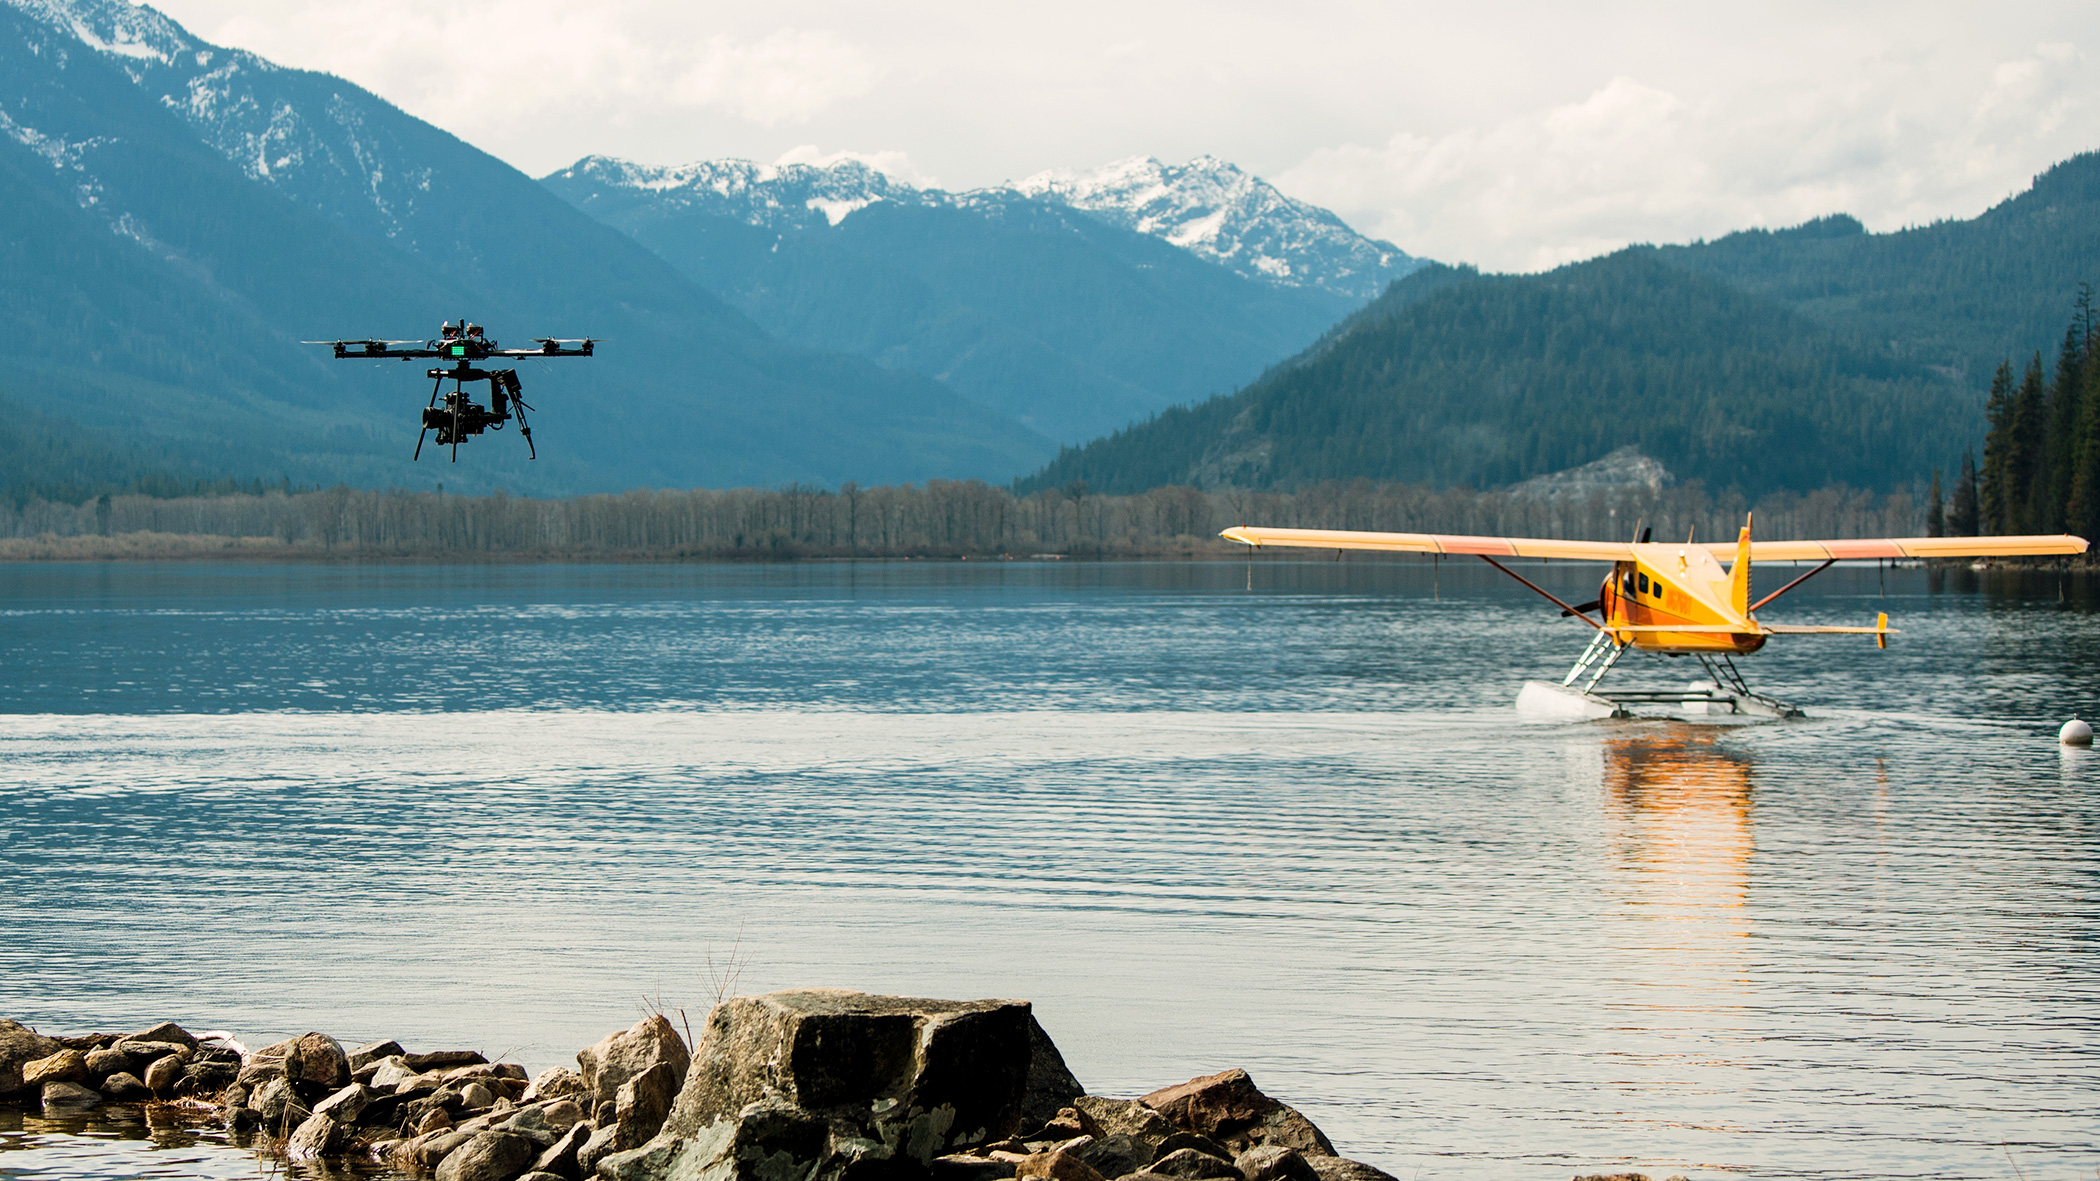
CW: One of the most important things is not just getting permission, but also building relationships. Don’t call someone up and say, “Hey, how much would it cost to shoot on your land?” Build a relationship with them. Explain your project. Get them involved and excited about it. For the seaplane scene in The Journey, we literally went around knocking on doors at this lake, which led to us meeting the family who founded the first homestead on Lake Wenatchee. I hung out with them for about 40 minutes, and they had this whole homestead area up on the mountain where we could land a helicopter. Plus, they owned all the beaches except the State Park beaches. And then it turned out their son was in film school, so we got this awesome PA who brought us coffee every morning. That’s what we try to do with any location: get people excited and involved.
Do you have to pay for permits?
DK: Yeah. They’re usually somewhere between $25 and $150.
CW: For State Parks, you have to go through a certain film permits office, and that usually takes a while. Using private property is easier because you can just get in touch with the person who owns the land. Like that family I met on Lake Wenatchee. They were like, “Yeah, cool. You can shoot here.” And that’s literally all you need.
DK: But because I’m a nervous person, we decided to rent their cabin so at least we were giving them money and they couldn’t back out. They were totally awesome and wouldn’t have backed out, but it helps lock things down when there is some kind of transaction involved.
For a scene like the boathouse, what’s the etiquette there? You had this real boat maker working in his own shop — do you pay him?
DK: It depends on the project. If we were shooting a little video and there was no client, I think it would have been totally appropriate not to offer any money. Maybe trade some imagery. Edit a little bit of footage together for their website. But if there’s a client involved, that changes things. We negotiated a day rate to shoot in their space, and then I also negotiated a rate with Peter (the boat maker) for his time. It’s sort of a personal preference, but I don’t feel comfortable not paying someone when we have a budget.
CW: We don’t usually come in with an offer. We just explain the project and then ask what they’d like. We’ve never had anyone come back with anything crazy.
DK: Paying people is actually a good thing, because then there’s an agreement involved. You know they’ll show up. If they’re doing it for free, it would be really easy for them to back out at the last minute. Still though, you never know what’s going to happen. You always need to have some sort of backup plan in case something doesn’t work out. What are you going to do if it’s pouring down rain? You’ve got 15 people staring at you like, Now what? Have some thought-out plans so you’re not put into emergency mode.
For example, after scouting Lake Wenatchee, which is where we did all the canoeing and boat stuff, we decided we needed a dock for the plane. So I contacted the lady we were renting the cabin from and asked if she knew anyone. Because it was winter, everyone had pulled their docks in. But she was able to find me a person who had a nonretractable dock, and she sent me, like, 16 photos. I thought, Oh, wow! This is great. It’s going to work perfectly. But when we showed up to shoot, it did not look good at all. To the left and right, there was this red monstrosity of a boathouse. The only way to make it work was shooting straight on. Luckily we had a backup plan: shoot on the beach. All that to say, Plan A didn’t work.
Is there anything about The Journey you would have changed?
DK: I wouldn’t change anything. And that’s because we did so much planning and scouting ahead of time. All of the projects I want to change afterwards are the ones where we were forced into a location, or we were rushed into something and didn’t have time to properly plan. When you have time to properly plan, I think those are the projects you’re going to be most satisfied with.
CW: Scouting is part of the creative process, especially on a film like The Journey. Going to those places helps me become more creative. It became really symbiotic — making a project about exploring helps you within your own creativity.
So I’m guessing scouting for The Journey was a lot different than scouting for From 1994.
DK: One of the biggest differences was that From 1994 was a personal project, so we paid for the whole thing. Originally I thought we could shoot in friends’ houses or maybe even our own house. For that project we ended up looking at, I think, over 20 houses.
What were you looking for?
DK: Mostly the size of the rooms. We needed to fit lighting in all directions and a crew of 10 people, while also being able to move around. You can use a professional location scout to find a house, but we were told it would be $2,500 to $4,000 per day to shoot in some of these houses, and we were going to need the house for about a week. So that was out. We started trying to find houses that weren’t prevetted. We looked on VRBO and Airbnb. I emailed the owners, told them about our project, and asked if they’d let us film. A lot of people said no. But a few people said yes. Anyone who said yes, we’d go scout the house.
CW: In the end it came down to that relationship-building I was talking about before. The main house we rented for the film, we ended up becoming really good friends with the owners. We even invited them to the premier. They were awesome. They keep asking us when we’re going to come back and do our next film. It’s cool to have people like that become a part of your team. They give you this positive emotional support that you’re doing something cool.
We’re given only one light: the sun. That’s the one we use to shape everything else.
DK: That’s also why it’s important to keep a list of your locations. Like, if we ever need a house to shoot in again, we have a house. If we need a boathouse to shoot in, we have a boathouse. That’s so much easier than starting with nothing, which is how we started From 1994. We scouted forever. And even then, the place where we ended up shooting wasn’t really my style.
CW: We brought in all different furniture, props, everything.
Do you think the world is uglier than we realize?
CW: I think it all has to do with light. Often when I walk into a shoot, I’ll shut off all the lights. The producer will be like, “What are you doing?” And I explain that it’s best to start with what’s coming in from outside. It’s better to start there and add, rather than subtract. I forget what filmmaker said this, but they said, really, we’re given only one light: the sun. That’s the one we use to shape everything else. So that’s the mind-set I have when I scout a location. I start with what’s naturally there.
Has scouting so much changed the way you see the world?
DK: I think, more than anything, scouting has helped us hone our style and better understand the things we like. When we scout, it gets us more excited about the things we love; and it helps us make the films we want to make. The more I see new things, the more I want to make films — and vice versa. Scouting opens up creative ideas.
- - - - - -
(Source Article by Music Bed)


 Post a Comment